Smartphones aren’t just for making calls…
All the photos on this website (with the exception of a few of the “banner” images at the top of pages and some of the photos taken near Street) were taken on my iPhone 4s. It’s got a few limitations but the results speak for themselves. Good quality for blogging, ultimate convenience – and geotagging. It met my needs more or less exactly. The other advantage (that others might see as a disadvantage) is that the file sizes are quite small (about 2-3 MB). Which meant that it didn’t take forever to upload them to my website, even over a slow-ish network connection.
I’m not a particularly good photographer, and have realised that the only reliable way of me getting a decent photo is just to take lots and hope that one turns out OK. As I was walking, I normally took between 50 and 100 photos per day. Making a total of over 5,000 on my complete journey.
I carried my iPhone in my pocket – it had a Melkco protective case and a clear screen protector, but no waterproofing. Generally speaking, not being waterproof was not too much of a problem though, again with hindsight I might have opted for a waterproof phone like the Galaxy S5 (the newer model isn’t waterproof). I had to take care to wipe the phone dry on my fleece if I used it when it was raining.

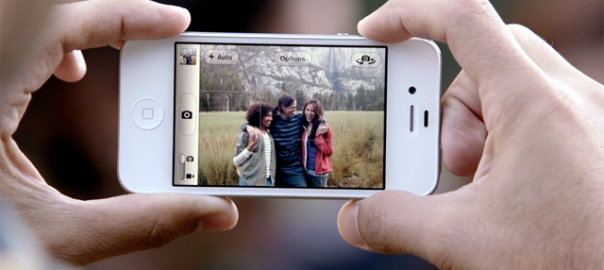
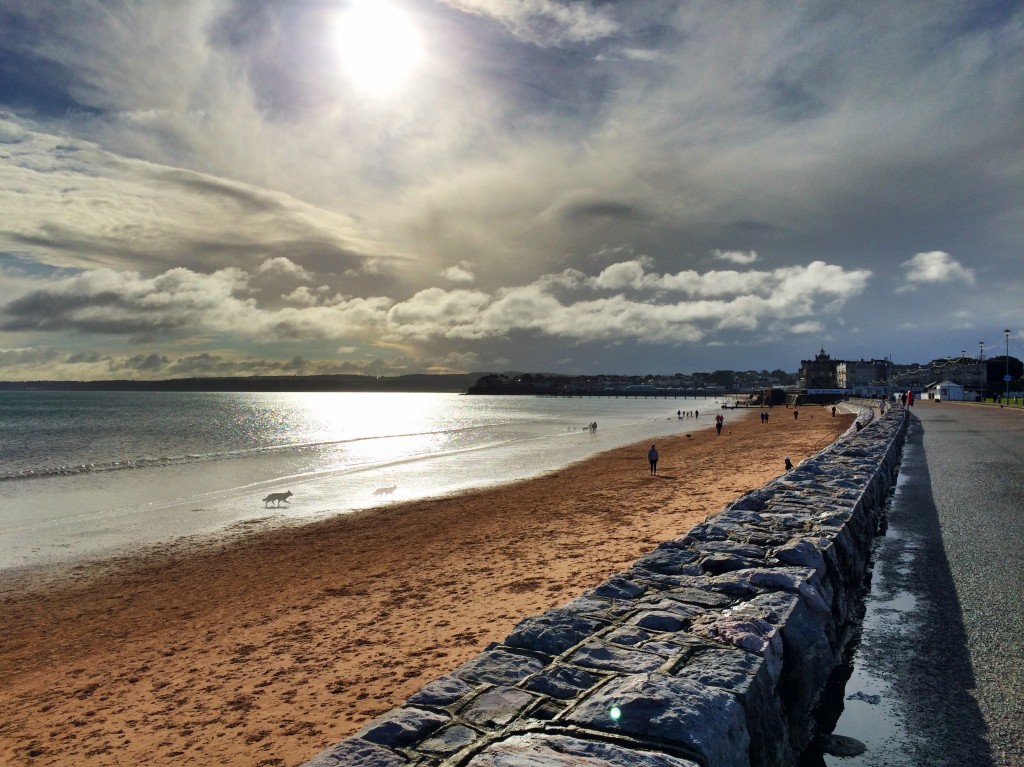
I liked the quality of the optics (I’m not sure that the newer iPhone 5S is any better) and particularly the built in “panorama” feature. I always tried to get two good panorama shots every day – one for the header of my daily posts, and one for the bottom. They did attract visitors’ attention and I got positive feedback on them.

To enhance some of the photos, I used an iPhone app called “HDR Pro” which creates “high dynamic range” pictures. These are useful where there is an interesting foreground which is dimly lit, and an interesting background which is very bright. It does this by taking two pictures with different exposures and combining them to create a single image with both the foreground and background correctly exposed. The results could be quite impressive.
Once I finished my day’s walk, I connected my iPhone up to my Asus laptop and transferred all the photos across from the phone using Windows Explorer. This worked OK but was highly dependent on getting decent cables (see “blogging” page). I could then select the eight best photos I wanted to put on my daily post and drag and drop them into WordPress, once I could get online.
But this is where I discovered an annoying problem which took me ages to fix. Because the volume controls on the iPhone double up as shutter buttons, I tended to take photos “buttons up”. Unfortunately the iPhone thinks the photos are therefore upside down but Windows 8 Explorer corrects for his by using the “EXIF” meta-data which is stored with the photo to rotate them the right way. The iPhone doesn’t apply the EXIF data because it slows down storing photos so it doesn’t bother, in order to allow a quicker photo “burst” rate. But WordPress doesn’t recognise the EXIF data so they are all turned upside down again, even though they appear OK in Windows explorer. But if upside down pictures are included in a blog, then some browsers will use the EXIF data to display them the right way up – but others don’t. To make matters worse, the inbuilt WordPress photo rotator didn’t work, and also portrait orientation photos appeared sideways. And because Windows 8 Explorer showed the pictures the right way up but didn’t actually use the EXIF data to change the file attributes, it was impossible to tell which ones were already the right way up, and which weren’t.

Anyway, after trying every possible way of solving the problem, I eventually happened to come across some excellent free software: JPEG Lossless Rotator – which applied the EXIF data to actually physically rotate and store the photos the right way round. So every night, after I had transferred the photos to my laptop, I had to process them through the rotator software before uploading them. It added yet another step to an already quite complicated process.
I discovered, by the way, that the GPS unit in the iPhone adds the photo location to the EXIF data – which could be handy for displaying my photos in software like Picasa (I didn’t have much luck with Flickr).
One night, for technical reasons, I hadn’t been able to rotate one of the photos I used but within 5 minutes posting the blog, I got an email from a friend in Canada to tell me he’d spotted it. Being a perfectionist, I felt I needed to correct the issue but I was having problems with the Wi-Fi in the café where I was writing my blog. I was in Kinlochewe at the time and the midges were so bad that the whole village was like a ghost town. But I’d managed to find that there were two BT Wi-Fi hotspots in the village and so I sat in the street outside of one of them, in cagoule, over-trousers, gloves and midge net over my head, logged on and corrected it. Probably the bizarrest sight in Kinlochewe that evening…
The only other technical problem I encountered was the “boot looping” issue near Street (see “keeping in touch” page) and while the iPhone was out of commission, I used my iPad to take photos. I didn’t find the quality as good as on the iPhone, and you can’t take panoramas, but it was good enough as a backup.
My iPhone came with 64GB of memory but because I was taking so many photos, and because I had loaded so many maps on it, on a couple of occasions it ran out of space. When this happened, I copied all the photos to a backup on my laptop (on the removable SDXC card) and then deleted them (using Windows 8 Explorer when the phone was connected by USB because bizarrely you can’t batch-delete photos from the iPhone itself). I think if I were doing the walk again, I’d try and get a phone with a bigger memory, so I had one less bit of hassle to deal with.
By the way – people often ask me how I took photos of myself. Well, I did it in one of three ways. The main, and easiest, way, was just to hold the camera at arm’s length and take a “selfie”. The second was to use a self timer app which was moderately successful but not wholly reliable (the new IOS 8 has a built in self-timer which is more reliable) but the phone tended to fall over while I was waiting for the timer unless I managed to find a really good place to wedge it upright. The third, and most reliable, way was just to ask someone nearby to take the photo for me – which was fine unless i was in the middle of nowhere.
So all in all, I would have no hesitation in using a phone for all my photography in the future. The lack of an optical zoom lens, and the lack of waterproofing were compromises that were worth making, in view of the increased convenience and reduced weight that it provided.
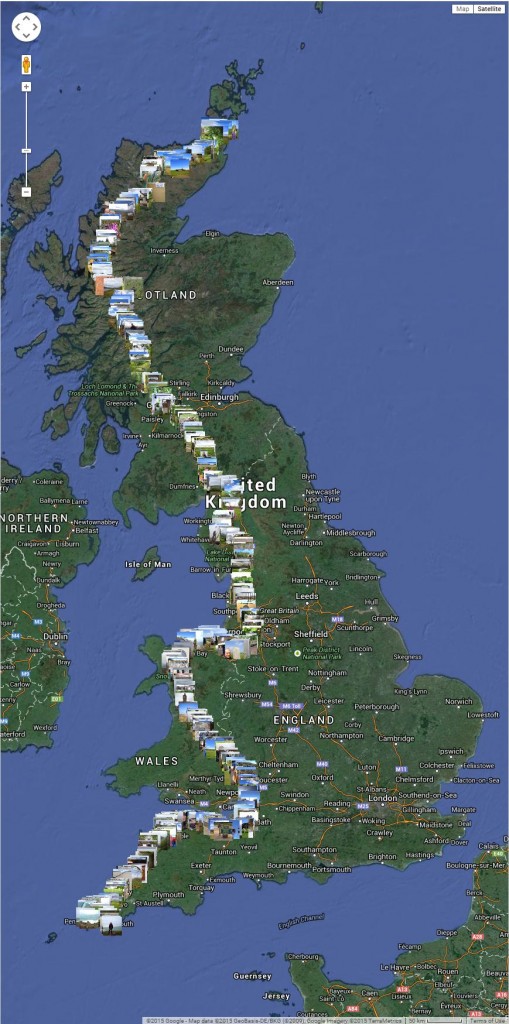
Click below to see all the photos that I uploaded to my daily blogs..
 |
| LEJOG Highlights |